Preparation Tips for Quick & Tasty Meals
Ever feel like cooking takes forever before you even fire up the stove? The secret isn’t magic—it’s solid preparation. A few minutes of planning and a simple prep routine can shave half the time off any recipe and keep flavors on point. Below you’ll find bite‑size steps you can add to your routine right now.
Plan Your Meals Ahead
Start by looking at your week. Pick two or three main dishes and write down the key ingredients. Grab a cheap notebook or use a phone note – whatever feels easiest. When you know exactly what you’ll make, shopping becomes a quick tick‑off list instead of a wandering aisle adventure.
While you’re at the store, buy ingredients in the quantities you need for the week. Bulk‑buy items like onions, garlic, and carrots that last long, but don’t over‑stock fresh herbs that wilt fast. Store them in airtight containers to keep them crisp.
Prep Ingredients Efficiently
When you get home, set a timer for 15‑20 minutes and tackle the “prep station.” Wash greens, chop veggies, and portion out proteins. Use a large cutting board and keep knives sharp – it makes slicing smoother and safer.
Batch‑cook staples like rice or quinoa, then store them in separate containers. They’re ready to be tossed into any stir‑fry or salad. If you like sauces, mix a big batch of vinaigrette or marinades and keep them in the fridge. They’ll add instant flavor to multiple meals.
Don’t forget the freezer. Portion cooked chicken, beans, or roasted veggies into zip‑top bags, label with the date, and you’ve got a ready‑to‑heat component for busy nights.
By breaking prep into small, repeatable actions, you avoid the “I have nothing ready” panic that often leads to takeout. You’ll also notice that recipes taste better because the ingredients are fresh and ready to go.
Now, a quick rundown of the most useful prep habits:
- Check your calendar every Sunday for meals.
- Write a concise shopping list and stick to it.
- Dedicate a 20‑minute window for chopping and storing.
- Cook a grain batch and freeze proteins for later.
- Label everything with dates to avoid waste.
Give these steps a try this week. You’ll be amazed at how much smoother cooking feels when the hard work is already done. Happy prepping!
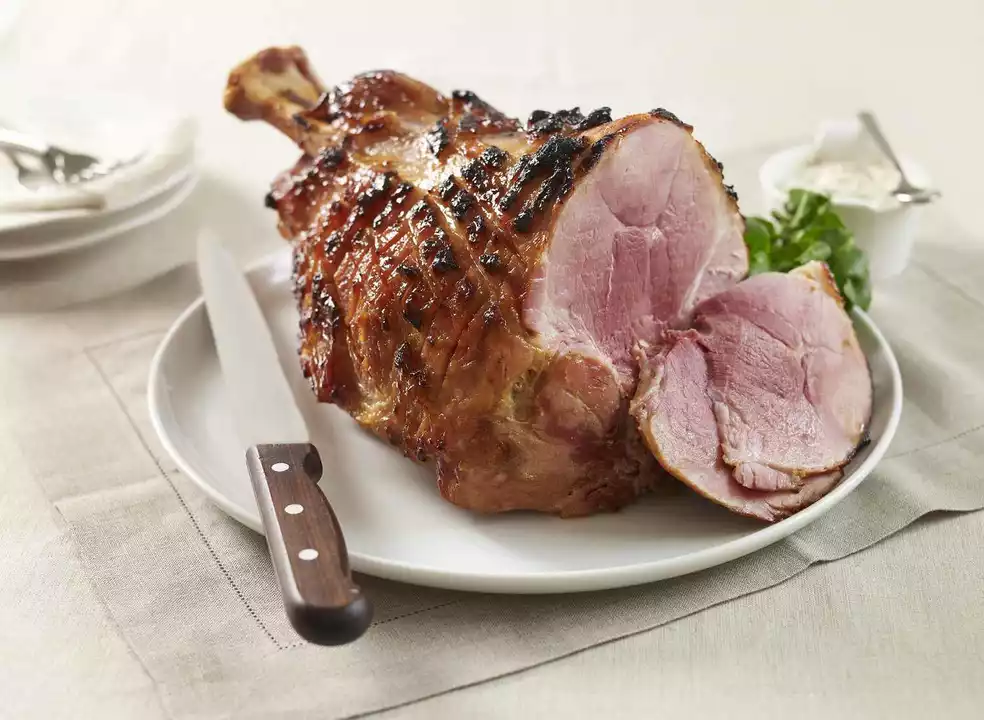
How do you cook your holiday ham?
During the holidays, I love cooking a delicious ham for my family and friends. First, I choose a high-quality, bone-in ham and preheat the oven to 325°F. I then score the ham in a diamond pattern and brush it with a flavorful glaze made of brown sugar, honey, and mustard. Next, I bake the ham for about 20 minutes per pound, basting it with the glaze every 30 minutes. Once it reaches an internal temperature of 140°F, I let it rest for a few minutes before carving and serving it to my loved ones.